How to Deploy Stable Video Diffusion in Colab?


Stable Video Diffusion produces much better videos than I anticipated, with significant subject variation and distortion-free visuals. Among AI video generation tools, its performance stands out.
Currently, its drawback is the resolution, only 1024x576. The video below doesn't use the HD feature, allowing you to experience the video quality.
Stable Video Diffusion Video Generation Speed
Currently, it's recommended to use Colab for deploying Stable Video Diffusion. With a Colab membership, using the A100 GPU, it takes 53 seconds to generate a 4-second video, while using the T4 GPU takes 7 minutes.
First, Open the Colab Notebook Link
Next, Click the Play Icon to Run Different Cells
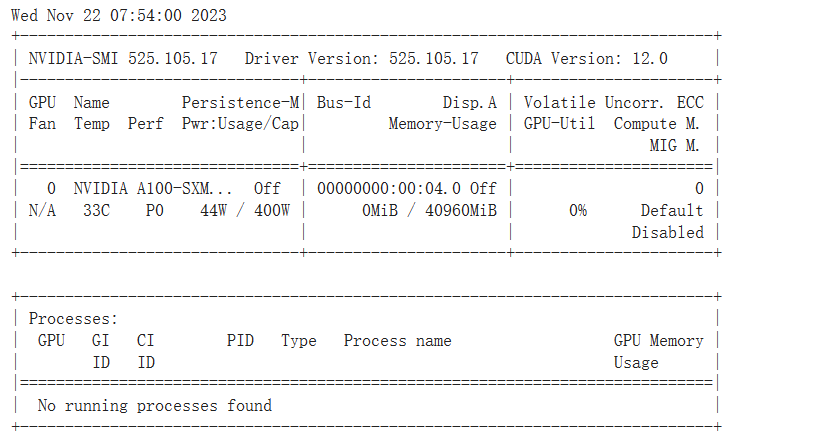
- Cell 1: Setup
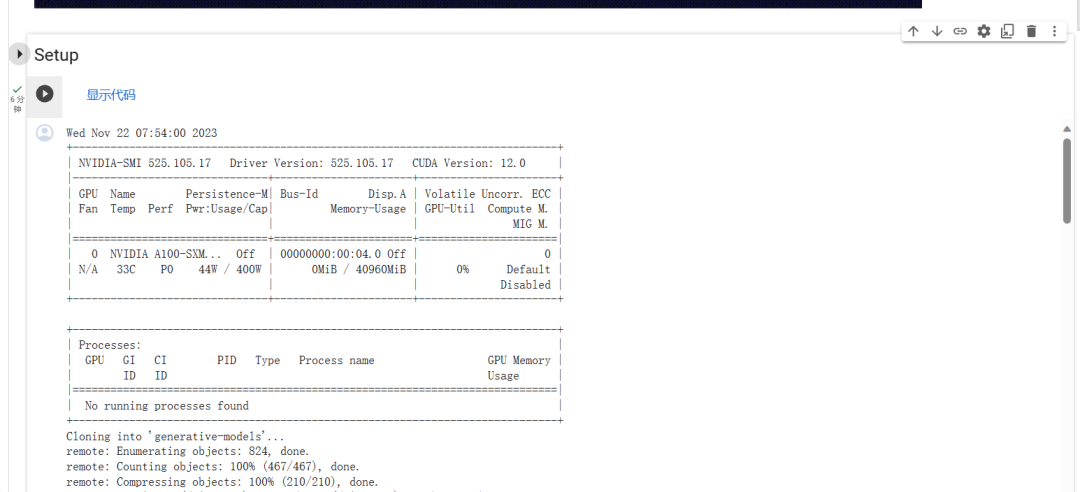
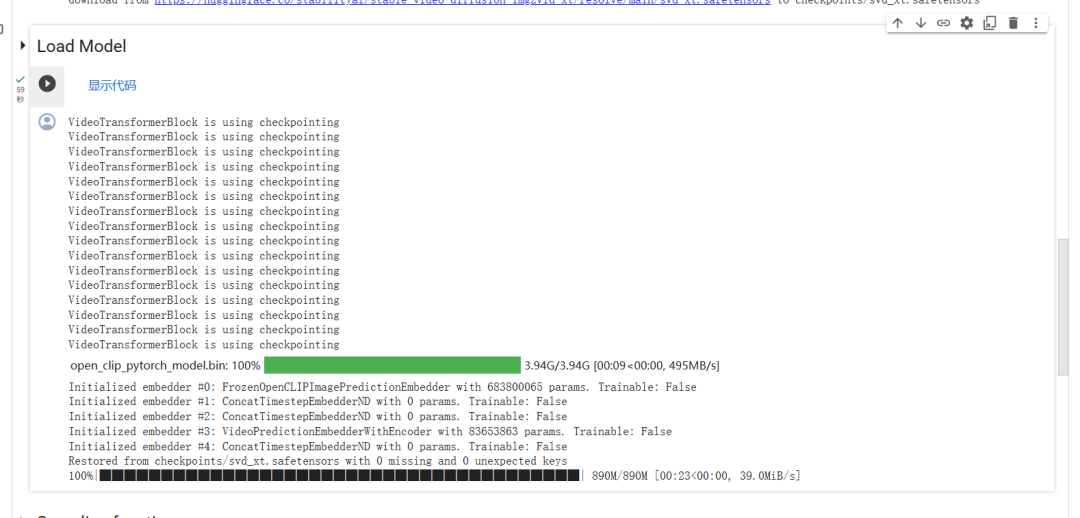
- Ignore any errors after running; it won't affect the generation. A green checkmark next to the play icon indicates completion.
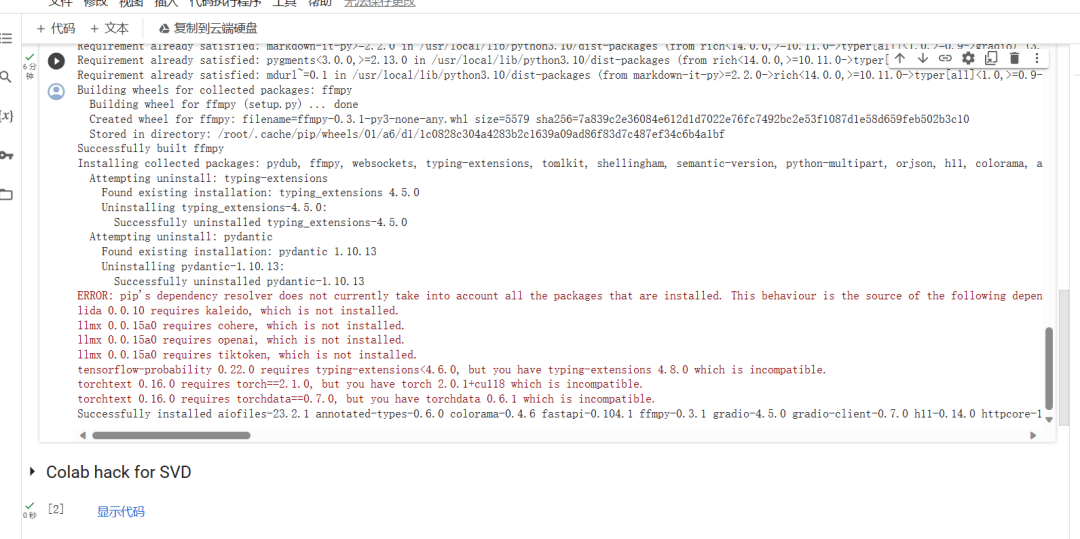
- Cell 2: Colab Hack for SVD

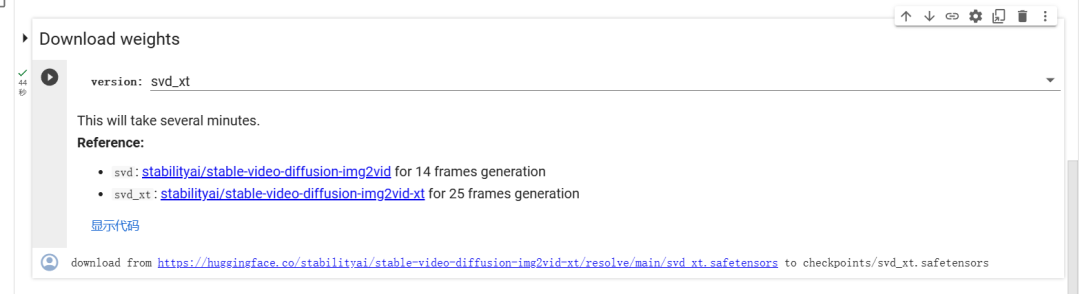
- Cell 3: Download Weights
- Cell 4: Load Model
- Cell 5: Sampling Function

- Cell 6: Do the Run!
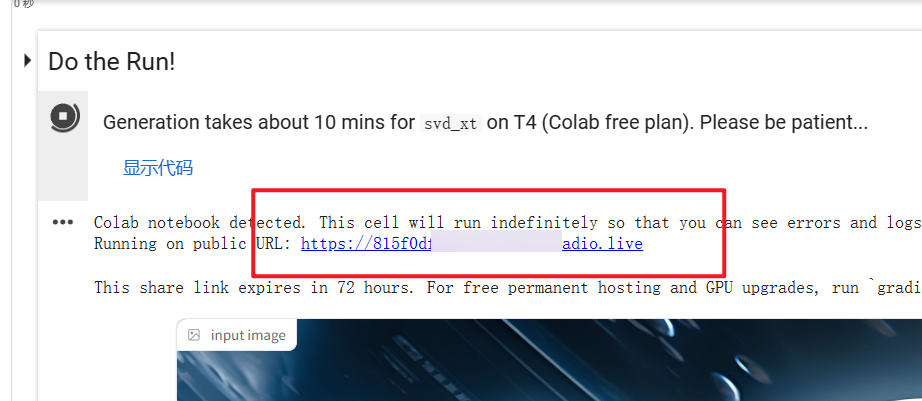
This is the final cell. After successful execution, you'll see a link. Clicking the link opens a webpage where you can happily upload images for generation. Remember, it supports only PNG format; convert other formats to PNG. The generated resolution is 1024x576, and images not in this aspect ratio will be automatically compressed.
Successfully Generated Video
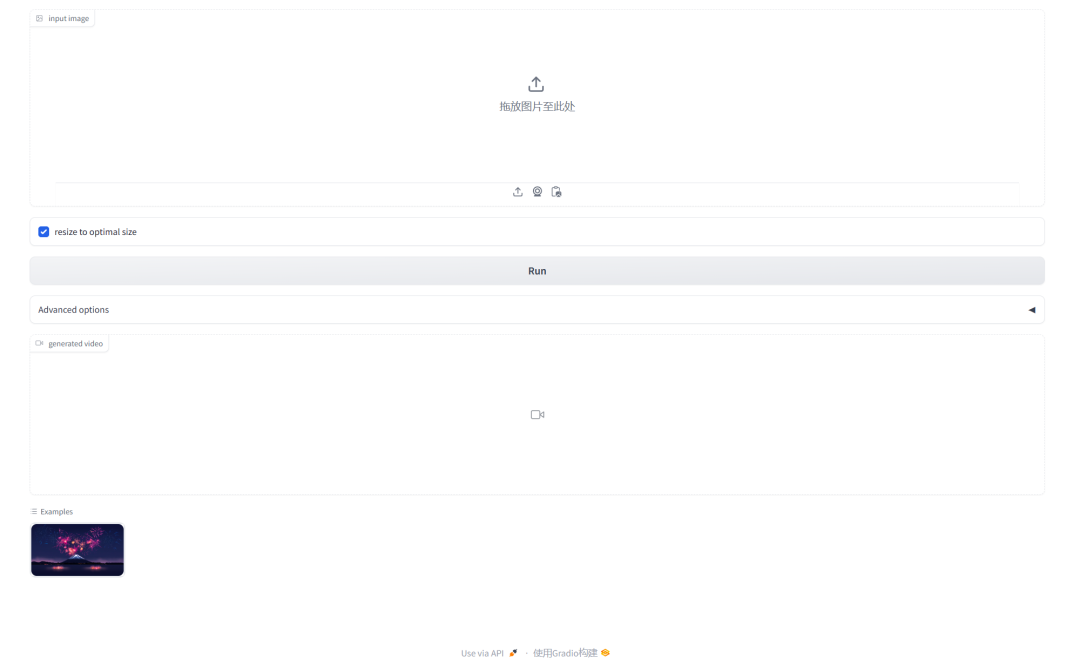
The interface after video generation looks like the image. Remember to download and save the video. Advanced options generally don't need adjustment, as setting them too high may overload the GPU memory.

If you're eager to learn more about Stable Video Diffussion, check out some of these articles:
- Google Gemini is Here And Its Better Than GPT-4
- How to Make AI VIDEOS (with Stable Diffusion, Runway)
- Summary of "Stable Video Diffusion - Local Install Guide" Video
- How to run Stable Video Diffusion in ComfyUI ?img2vid
- How to Deploy Stable Video Diffusion in Colab?
- How to install Stable Video Difussion?
- Stable Video Diffusion: a Free AI Video Generator